How to Make a Clipping Mask in Canva (Fast & Easy Guide for 2026)
Have you ever opened an editor and got totally stuck trying to figure out how to make a clipping mask in Canva?
It is super annoying when you want your favorite photo to shape itself into a perfect circle or hide inside your text, but you can’t find the tool to do it. You can easily spend ten minutes clicking random menus, only to end up with a messy layout that looks totally flat.
The good news is that learning how to make a clipping mask in Canva is an easy secret for better graphics. It gives your video thumbnails, product ads, and school projects a sleek, professional look instantly. In this guide, you will learn the exact shortcuts to putting images inside shapes and how to get perfect results on your first try.
Quick Answer
To make a clipping mask in Canva, use Frames, letter frames, or masking apps to place an image inside a shape, text, or design element. Add the frame, drag your image into it, adjust positioning, and export the final design. This is the fastest Canva alternative to traditional clipping masks.
If you want to explore more Canva editing techniques, these related guides may help:
- How to Make Background Transparent in Canva (Fast & Easy Guide for 2026)
- How to Outline Text in Canva
- How to Add Drop Shadow in Canva (Fast & Easy Guide for 2026)
- How to Flip an Image in Canva (Fast & Easy Guide for 2026)
Best Ways to Make a Clipping Mask in Canva
| Method | Best For | Difficulty | Why It Works |
| Frames Method | Beginners | Easy | Fastest option |
| Text Mask | Headlines | Medium | Premium effect |
| Logo Texture Mask | Branding | Medium | Unique style |
| Custom Shape Mask | Advanced Designs | Medium | More control |
| Mobile Mask Method | Phone Users | Easy | Quick edits |
What a Clipping Mask Means in Canva
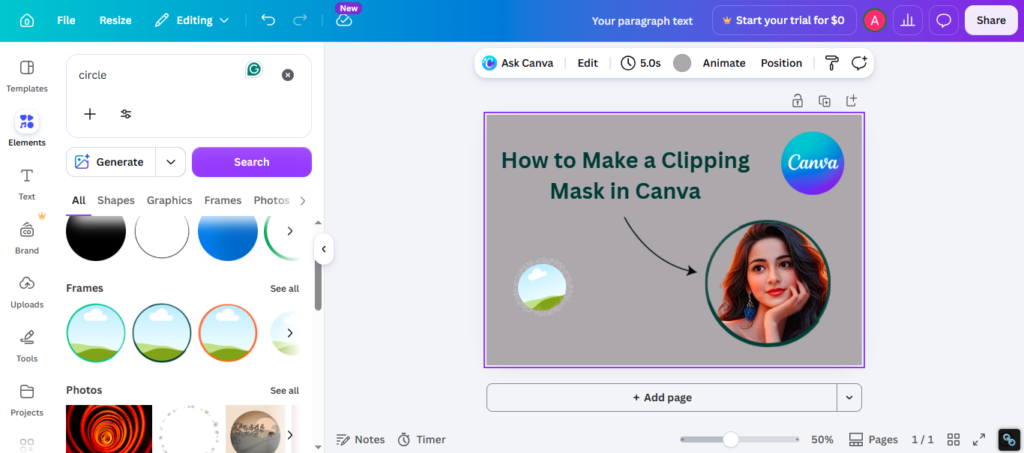
A clipping mask means showing an image only inside another shape or object.
Examples:
- Photo inside a circle
- Pattern inside text
- Texture inside logo
- Portrait inside frame
- Product image inside custom shape
In Canva, this is usually done with frames or masking tools instead of a classic mask button.
How to Make a Clipping Mask in Canva with Frames
This is the easiest method for most users.
Step 1: Open Your Design
Create a new project or open an existing one.
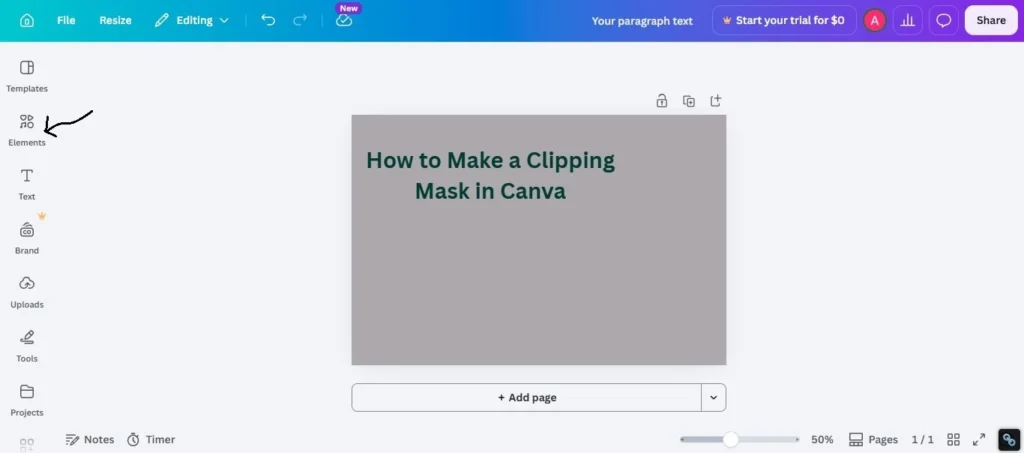
Step 2: Go to Elements
Use the left-side menu.
Step 3: Search for Frames
Type frames in the search bar.
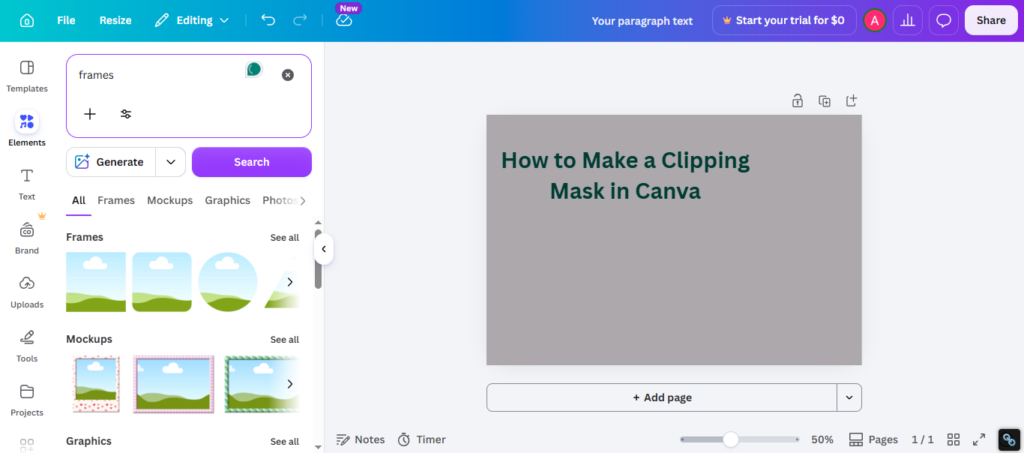
Step 4: Choose a Shape
Pick a circle, square, heart, letter, or custom frame.
Step 5: Add the Frame
Place it on your canvas.
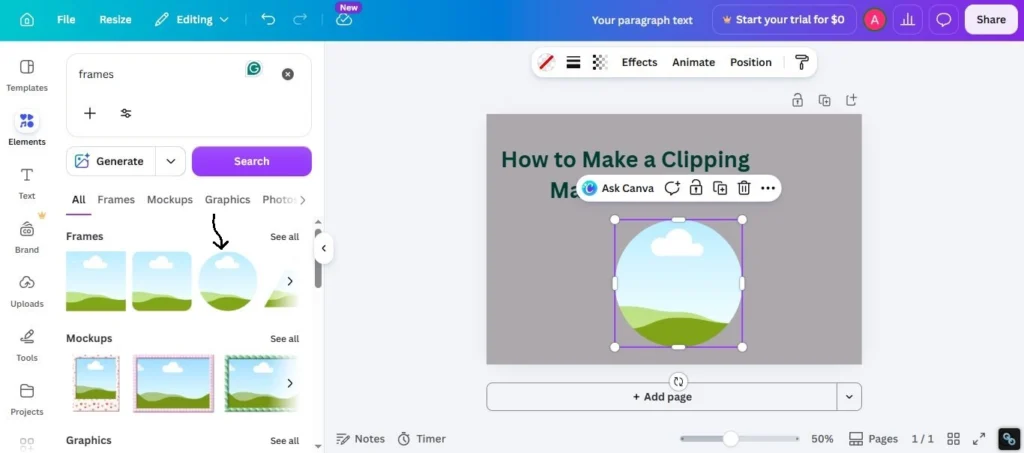
Step 6: Drag Your Image Into the Frame
The image will automatically fit inside.
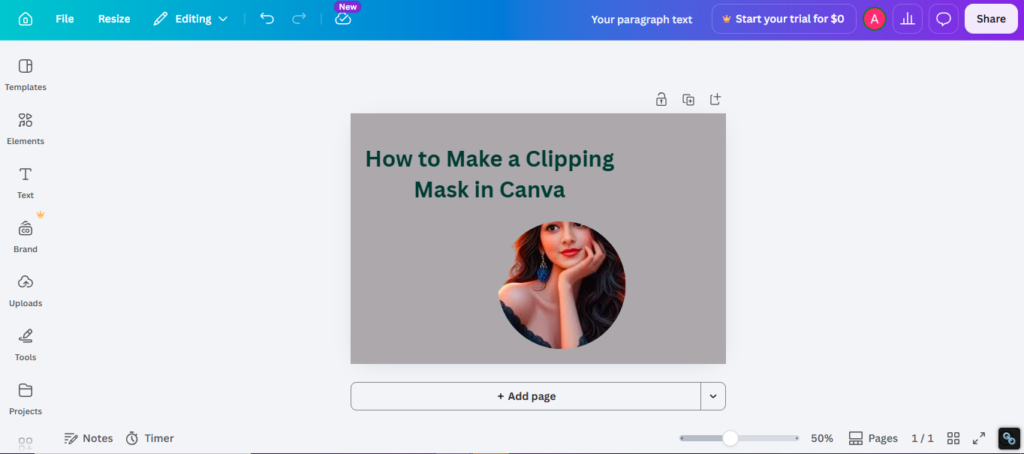
Step 7: Adjust Position
Double-click to move or zoom the image inside the frame.
How to Put an Image Inside Text in Canva
This creates a premium headline effect.
Best For:
- YouTube thumbnails
- Posters
- Logos
- Event graphics
- Social media covers
Quick Method:
- Search for letter frames
- Add letters one by one
- Drag image into each letter
- Align letters properly
- Group the final result
Short words usually look better than long sentences.
How to Create a Logo Texture Mask in Canva
Useful for branding and creative projects.
Great For:
- Fashion brands
- Music graphics
- Creative agencies
- Sports designs
- Premium packaging
Workflow:
- Add logo shape or text
- Use frame or mask tool
- Insert texture image
- Adjust scale
- Export final design
Keep textures subtle for a professional look.
How to Create a Custom Shape Mask in Canva
If normal frames feel limited, use custom workflows.
Best Methods:
- Upload custom PNG shape
- Layer images carefully
- Use background removal
- Combine with transparency
This takes more time but can create unique results.
Best Tips for Better Clipping Masks
Use these practical tips:
1. Use High-Quality Images
Low-quality images look weak inside masks.
2. Keep Shapes Simple
Simple shapes are easier to read.
3. Use Contrast
The masked image should still be visible clearly.
4. Keep Text Short
For text masks, short words work best.
5. Export in PNG
Great for reusable graphics and cleaner edges.
Common Problems and Fixes
Image Will Not Drop Into Frame
Try:
- Make sure it is a real frame
- Drag image directly onto frame
- Re-add the frame
Text Mask Looks Messy
Try:
- Use fewer letters
- Increase spacing
- Use stronger image contrast
Edges Look Rough
Try:
- Use better image quality
- Resize carefully
- Export higher quality
Design Feels Too Busy
Try:
- Simplify background
- Use one main masked element
- Reduce extra effects
Best Uses for Canva Clipping Masks
This feature works well for real projects.
For Ecommerce
Stylish product banners.
For YouTube
Eye-catching thumbnails.
For Agencies
Premium client graphics.
For Etsy / POD
Unique printable designs.
For Social Media
Scroll-stopping posts.
Expert Tip
After testing Canva masking effects for client branding, thumbnails, Etsy designs, and social creatives, I have found that beginners often overcomplicate the process. A simple circle frame with a strong image usually looks better than a messy advanced mask with too many effects.
If you are unsure where to start, use:
- Clean frame
- High-quality image
- Simple background
- Strong contrast
- PNG export
That workflow works in many real projects.
Frequently Asked Questions
Use frames, letter frames, or masking tools, then drag your image inside.
Canva uses frames and apps that create the same effect in a different way.
Yes. Letter frames are a common method.
Yes. It is fast and beginner-friendly for many creative projects.
PNG is usually best for cleaner graphics and transparency.
Final Thoughts
Learning how to make a clipping mask in Canva is an easy secret for better graphics. It gives your artwork a high-quality look and stops your layout from feeling like a plain, boring square. It is a fantastic trick for client projects, store logos, or any creative work you are sharing online.
From real experience, you get the best results when you don’t overcomplicate things. Stick to readable fonts, keep your spacing neat, and make sure your images fit nicely inside your shapes before you save them. Fancy styles always change, but keeping your work fun and organized never goes out of fashion.

I’m Faraz, the founder and lead content strategist at The Vistly. With a background in digital marketing, I lead content and design strategy for the site, working alongside a small team of designers to create practical Canva tutorials, font pairings, and design resources for creators, small businesses, and marketers around the world. My goal with The Vistly is to make professional-quality design accessible to anyone, no design degree required.